How to Record Video with Webcam on Windows/Mac?
Windows/Mac
You might know about video record a PowerPoint presentation, but here we’ll discuss about how to record video with Webcam on Windows and Mac. If you’re creating content for personal use, professional presentations, or online sharing, you may need to record a clip with a webcam, and knowing how to record a webcam video is a useful skill.
Fortunately, there are so many ways to achieve this regardless of what device you’re working with. People believe they have to be tech-savvy to perform such tasks, but believe there is no need to be one as you can record optimal quality with a few tips and guidelines.
In this guide, we’ll explore three versatile options for recording videos with your digital camera on Windows or Mac. Each of these top webcam recorders caters to different user preferences and needs, so you can choose the one that suits you best. Just read on to explore!
Record Video with Webcam Using FonePaw Webcam Recorder on Windows/Mac
FonePaw Webcam Recorder is a robust and dedicated third-party software application designed for recording on both Windows and Mac. You can use it to record a high-quality face cam video or add an overlay while screen recording.
It empowers individuals with real-time editing capabilities. With it, you can easily elevate your taping by adding personalized effects such as rectangles, lines, text, graphic numbering, and image overlays. They are all designed to enrich the visual appeal of your content. Besides that, you can also record Zoom meetings with iTop Screen Recorder without host’s permission.
Key Features of FonePaw Webcam Recorder:
- Output high-quality recording up to 4K 60FPS.
- Noise cancellation and human voice enhancement.
- Personalized parameter settings for advanced users.
- Intuitive and user-friendly interface for easy processing.
- Built-in editing toolkits for enhancing your recording.
- Stable long-time signaling with no lag or flash.
- Picture-in-Picture mode to record screen and webcam.
- It supports multiple output formats. For instance, MP4, MOV, WMV, etc.
Follow the steps below to record footage with the FonePaw Recorder:
- Step 1. Download and install FonePaw Webcam Recorder on your computer. Then launch the program.
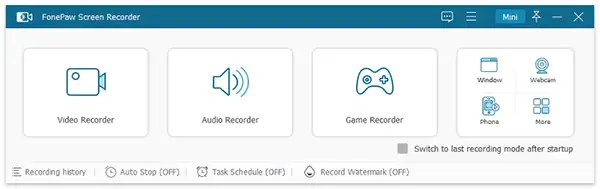
- Step 2. Select Webcam Recorder and turn on yours, adjust the webcam to make sure you are in the center of the image.
- Step 3. Before you start recording, you can adjust clip resolution, frame rate, audio source, etc.
- Step 4. Click the “Record” button to start recording your footage. When you’re finished, hit the “Stop” button to save the footage to your chosen location.

Record Video with Webcam Using Windows Camera App

For Windows users, the built-in Windows Camera app provides a straightforward and convenient way to record clips with your digital camera.
Although, the camera app is quite simple and provides enough control over focus, exposure, and quality. Besides this, if you have an external microphone, just connect it. Consequently, you’ll have a setup that’s perfectly suitable for taping courses and YouTube footage.
Here’s how to use it:
- Step 1. Type “Camera” in the Windows search bar, and select the “Camera” app from the results.
- Step 2. Switch to video mode by clicking on the clip icon or choosing “Video.”

- Step 3. Before, you can configure settings like quality and audio input.
- Step 4. Click the “Record” button to start capturing your footage. When you’re done, click “Stop” to save the clip to your desired location.
Record Video with Webcam Using QuickTime Player on Mac
For Mac users, QuickTime Player is a handy built-in application for taping clips. This is a quick and easy way to create footage presentations and learning clips.
To aid you with enough knowledge we have noted the steps below for the same. Let’s jump in:
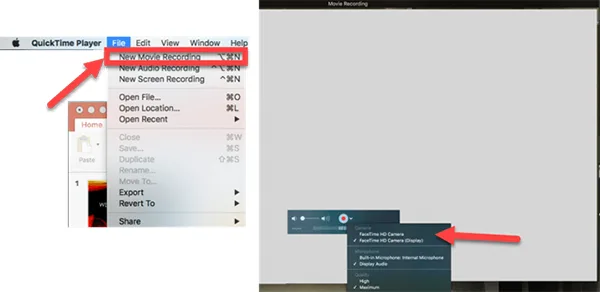
- Step 1. Launch QuickTime Player from your Applications folder or using Spotlight search.
- Step 2. Click on “File” and select “New Movie Recording.” QuickTime will activate your webcam.
- Step 3. Before recording, click the drop-down arrow next to the record button to choose your digital camera and adjust the audio settings.
- Step 4. Click the red record button to start recording. When you’re finished, click the stop button, and your clip will be automatically saved.
Record Video in Photo Booth – Alternative Way
As the technology has improved video streaming and recording experience as well. In the same way Phone Booth is a technical tool for video recording. For those who don’t know what a photo booth is, it is a built-in application on Mac computers and is considered one of the easiest ways to record videos. Here’s how to do it:
- Step 1: Launch “Photo Booth” by clicking on the icon that is available in the Mac Dock. You can even choose it from the applications folder.
- Step 2: Click on the “Record a movie clip” icon. It is placed in the lower-left corner of the screen.

Step 3: Now, press the red “Record” button to start taping yourself. To stop it, press the same icon again.
- Step 4: Thereafter, the thumbnail images will appear under the main image. They represent the pictures and clips taken with the Photo Booth.
- Step 5: Select a picture that you want to export. Remember, the one you last recorded is on the right.
- Step 6: Finally, click on the “Share” icon and choose a sharing method.
Conclusion
Recording clips with your digital camera has never been easier, thanks to the various tools available.
Choose the one that best fits your needs, whether it’s the user-friendly FonePaw Webcam Recorder, the Windows Camera app for Windows users, or QuickTime Player for Mac users.
These options provide flexibility and convenience, helping you to create high-quality footage for any purpose.

How to Organize Windows 10/11 Desktops Effortlessly?

How to Enhance Your Laptop Performance
The Use of Drawing Tablets and Computers
Implications of Android Apps Running Natively on Windows…
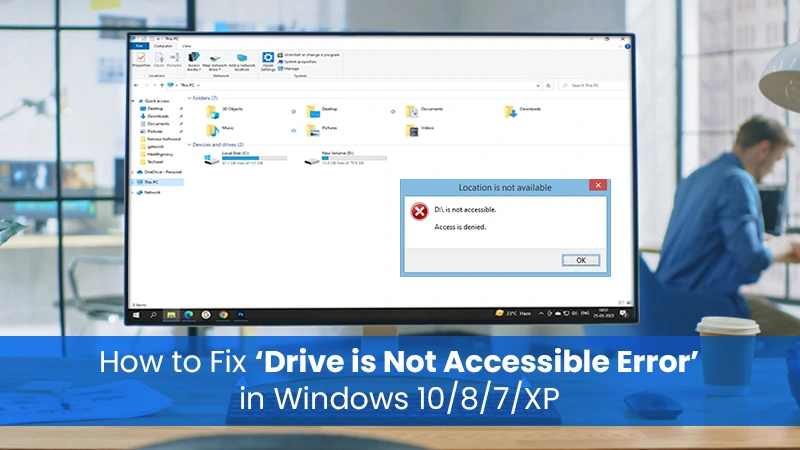
How to Fix Drive is Not Accessible Error…

Can’t Keep Up with Windows 10 Update Errors?…
Useful Tips: Deciding Between a Laptop and a…
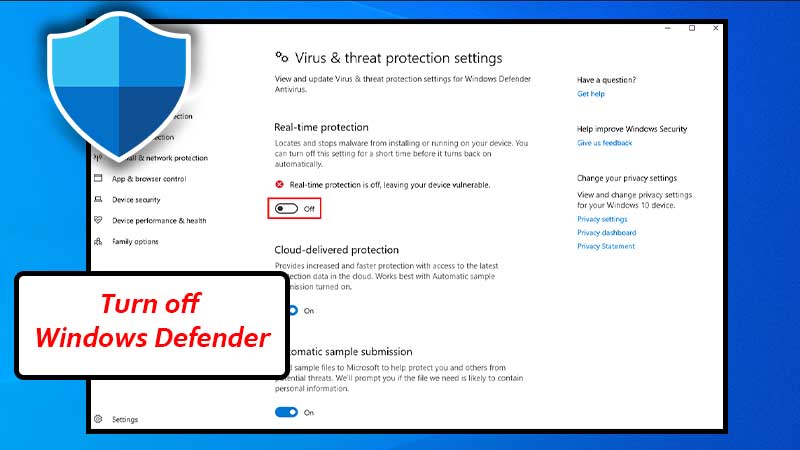
Steps to Turn off Windows Defender

Microsoft Is Discontinuing Support for OneDrive in Windows…

Effective Troubleshooting Methods to Fix Sleep Issue for…

Can’t Click Anything on Windows 10 Desktop? Consider…